Radon, the silent intruder in many homes, is a naturally occurring radioactive gas that can lead to serious health issues, including lung cancer. As a homeowner, ensuring your home passes a radon test is not just about meeting regulatory standards – it’s about safeguarding the health of your family.
This in-depth guide will walk you through the various steps and strategies to effectively lower radon levels in your home, ensuring both a successful test and long-term safety.
Table of Contents
What is Radon and Its Risks
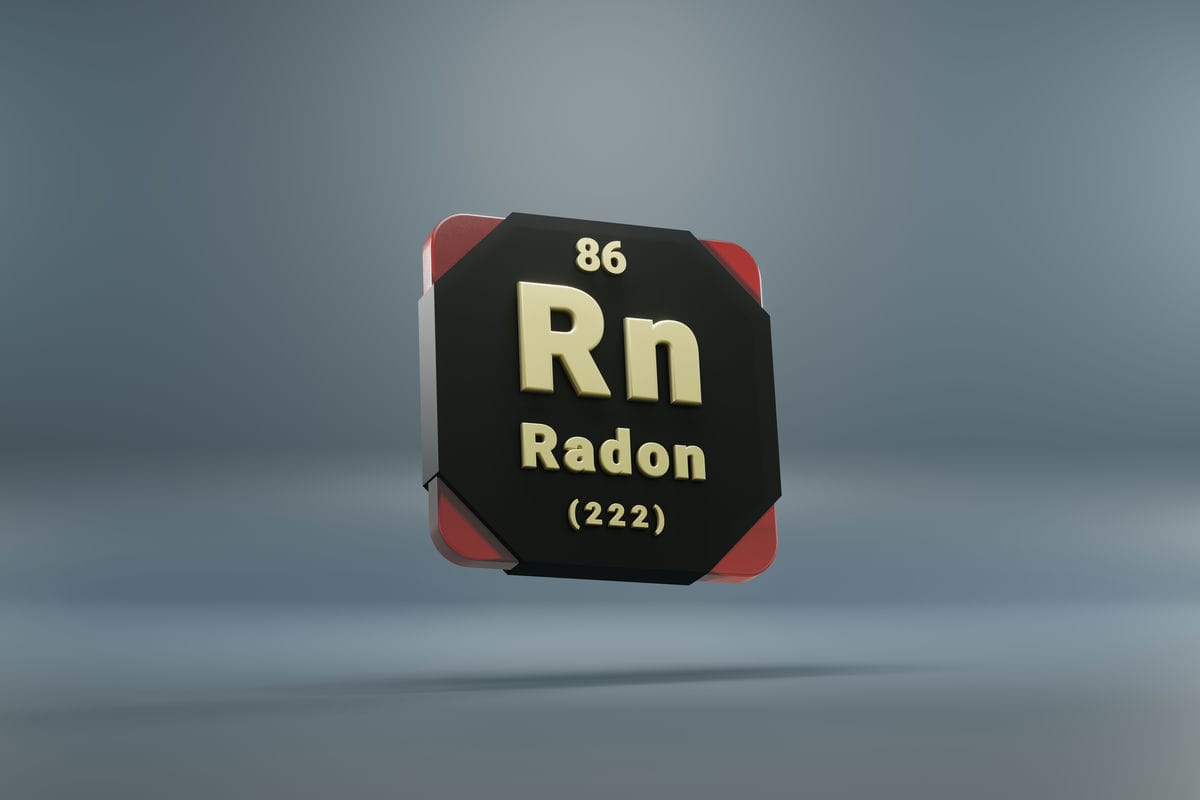
Radon is not just any household gas; it’s a carcinogen that is undetectable by human senses. It forms from the natural breakdown of uranium in soil, rock, and water and can enter homes through openings in the foundation.
Its danger lies in its radioactive nature, which, upon prolonged exposure, can damage lung tissue and lead to cancer. The EPA notes that radon is the second leading cause of lung cancer in the U.S., making it a significant health hazard.
Pre-Test Preparation
To effectively lower radon levels before a test, start by understanding what the EPA considers “actionable” levels – 4 pCi/L or higher. Begin with:
- Seal Cracks and Openings: Inspect your home thoroughly. Look for visible cracks in the foundation, floors, walls, and around service pipes. Use appropriate sealants to fill these gaps. This not only prevents radon entry but also improves general insulation.
- Improve Ventilation: Enhance air circulation in your home. Open windows regularly, use fans, and consider installing a ventilation system. This can help reduce radon concentration, though it’s more of a temporary fix.
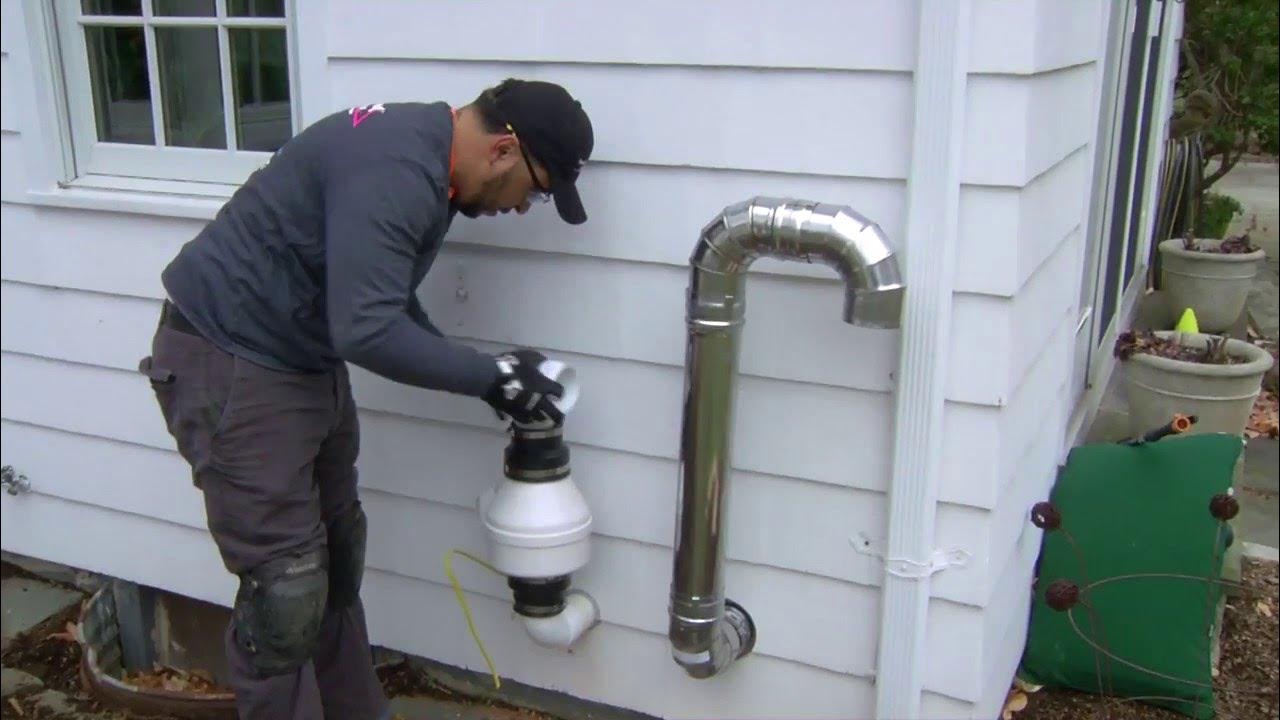
- Use Radon Reduction Systems: Examine existing radon mitigation systems or consider installing one, especially if you’re in a high-radon area. These systems can significantly reduce radon levels, making your home safer.
Long-Term Radon Reduction Strategies
For a lasting solution:
- Active Soil Depressurization (ASD): This is the most reliable method. It involves creating a vacuum in the soil beneath your home to prevent radon from entering. Professional installation is key for effectiveness.
- Increase Under-Floor Ventilation: Homes with crawl spaces can benefit greatly from increased ventilation. This reduces radon by diluting and dispersing it before it enters living spaces.
- Seal and Caulk Regularly: Radon mitigation is an ongoing process. Regularly inspect and maintain all seals and caulks to ensure they remain effective.
- Home Renovations: If considering renovations, integrate radon-resistant construction techniques. This is especially crucial in areas known for high radon levels.
How to Conduct a Reliable Radon Test
Conducting a reliable radon test is a critical process for ensuring the safety of your home environment. Radon testing is not overly complex, but it does require attention to detail to ensure accuracy. Here are the key steps and considerations:
Choosing the Right Test
Firstly, decide between a short-term or long-term test. Short-term tests last from 2 to 7 days and are useful for quick assessments, while long-term tests, which last for up to 90 days, provide a more accurate picture of average radon levels.
Test Placement
The placement of the radon test is crucial. The EPA recommends testing in the lowest livable area of your home – this is typically where the highest radon levels are found. Avoid placing the test in areas of high humidity (like bathrooms or kitchens), near drafts, or outside air currents that can affect the results.
Conducting the Test
- Maintain Closed-House Conditions: For short-term tests, it’s essential to maintain ‘closed-house conditions’ at least 12 hours before and during the testing period. This means keeping all windows and doors closed except for normal entry and exit.
- Avoid Disturbances: Place the test kit at least 20 inches above the floor in a location where it won’t be disturbed – away from drafts, high heat, direct sunlight, and exterior walls.
- Test Duration: Leave the test undisturbed for the required time. Short-term tests typically range from 2 to 7 days, depending on the device.
After the Test
Once the test is complete, seal the test kit (if required) and send it immediately to a lab for analysis. The quicker the test gets to the lab, the more accurate your results will be.
Interpreting Results
You’ll receive your test results in pCi/L. Refer to EPA guidelines for understanding your results and the necessary steps you should take based on those results.
Regular Testing
Finally, radon levels can change, so it’s recommended to test your home every two years, or after any significant changes to your home, such as renovations, changes in ventilation, or alterations to the foundation.
Understanding and Interpreting Radon Test Results
Interpreting radon test results is a crucial step in ensuring the safety and well-being of your home environment. Radon levels are measured in picocuries per liter (pCi/L), and understanding what these numbers mean is essential for taking appropriate action.
Reading the Numbers
- Below 2 pCi/L: This level is generally considered safe. However, it’s important to remember that no level of radon exposure is completely risk-free. The World Health Organization (WHO) suggests that radon levels above 2.7 pCi/L require mitigation, so even at lower levels, it’s wise to be cautious and retest periodically.
- 2-4 pCi/L: Levels within this range are above the WHO’s recommended safe level but below the EPA’s action threshold. This is a gray area – the risk is there but not high enough to mandate immediate action. However, homeowners should consider mitigation strategies to reduce levels further, especially if there are smokers in the home, as radon risk compounds with smoking.
- Above 4 pCi/L: This is the EPA’s action level. If your test results show radon levels above this, immediate action is recommended. High radon exposure significantly increases the risk of lung cancer over time. At this stage, professional radon mitigation is strongly advised.
Understanding Variability
Radon levels can fluctuate based on various factors such as changes in weather, season, and ventilation patterns in the home. For instance, levels are often higher during the winter months when homes are sealed against the cold. This variability underscores the importance of conducting multiple tests or a long-term test to get an accurate reading.
The Importance of Accuracy
Accurate testing is key to understanding your home’s radon levels. Ensure tests are placed correctly in the lowest lived-in level of your home and avoid areas of high humidity or drafts. Follow the instructions carefully and consider using a certified radon measurement professional, especially if levels are near or above the EPA’s action level.
Next Steps
If levels are high, it’s essential to contact a certified radon mitigation professional. They can assess your home and propose a mitigation system suited to its specific needs. Remember, reducing radon levels is not just about passing a test; it’s about ensuring long-term health and safety for you and your family.
When to Seek Professional Help
Recognizing when to seek professional help for radon mitigation is crucial for ensuring the safety of your home. If your radon test results consistently show levels at or above 4 picocuries per liter (pCi/L), the EPA’s recommended action level, it’s time to consult a certified radon mitigation professional.
Additionally, if you’re unsure about the test results, if your efforts to reduce radon levels haven’t been successful, or if you’re planning structural changes to your home that could affect radon levels, professional guidance is advisable. North Central Radon can provide tailored solutions and ensure effective, long-term radon reduction.
Conclusion
In conclusion, effectively managing radon levels in your home is essential for ensuring a safe and healthy living environment. From understanding the risks of radon and conducting accurate tests to interpreting results and implementing mitigation strategies, each step plays a vital role in safeguarding your household.
Remember, while DIY methods can be helpful, seeking professional assistance is often necessary, especially in cases of high radon levels. Regular testing and vigilance are key to long-term safety. By taking proactive steps to address radon, you not only ensure compliance with safety standards but also contribute to the overall well-being of your family.
FAQs
- How often should I test for radon? Biennial testing is recommended or after significant home modifications.
- Are DIY radon mitigation methods effective? While helpful, they often cannot replace the effectiveness of professional systems, especially in high-radon environments.
- Can radon levels fluctuate throughout the year? Yes, they can vary, often higher in winter due to closed-house conditions.